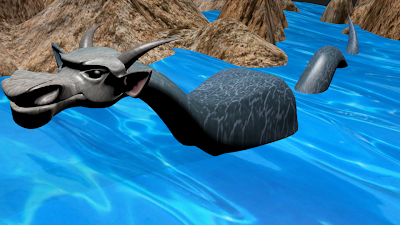
Ernie, my Sea Serpent
Goal for the Assignment:The goal was to create a rendered 3D image worth 30%. I assumed that it had to be coloured as well as placed in a background.
Originally, I decided to create a dragon. However, due to time constraints as well as my limited (though ever-expanding!) knowledge of Blender, I decided to create a Sea Serpent instead. I call him Ernie.
Ernie was created though trial-and-error, as well as by following several internet tutorials.
I spent about a week creating him, devoting hours in both day and night to this project. I've literally only left my house twice during that time! I think it's worth it, though.
These tutorials were particularly helpful:
http://www.blendercookie.com/2010/06/17/series-stylized-dragon-part-1/ (This helped with the dragon's face)
http://www.blenderguru.com/the-secret-to-creating-realistic-grass/ (This helped with lighting and determining the angle of the camera).
PROCESS:
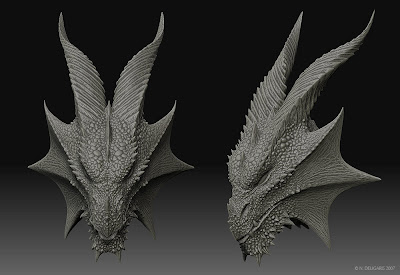
First off, I had to look at pictures of dragons in order to gain an idea of basic shape. I also referred to the tutorial on creating a stylized dragon above, but I made changes and alterations as I saw fit. I did not want my creature to be an exact duplication.

I realized by referencing these pictures, for instance, that dragon's horns tend to be flatter and sleeker, while bull's horns are more curved. This is why the final Sea Serpent's horns are shorter and more sloped; this makes it look more realistic.
I of course also used the dragon in this tutorial as a reference.
So basically, I worked in Blender with very little knowledge. I realized I had forgotten most shortcuts and how to perform even the simplest functions.
These are some of the things I learnt about Blender while working on this project:
- The number keys rotate the project and give different views along various axes; this helps when you need to see a particular view of the model very quickly. For example, 3 gives you a view of the side; 7 gives you a view from directly above.
- That holding down shift while holding down the middle button on the mouse allows you to shift the entire view from side to side. This helps when you need to focus on a particular area in the model to attend to detail, for example.
- I learnt about using the mirror modifier, which assisted in gaining a symmetrical dragon figure.
- I also learnt about using the sculpt tool. In particular, I heavily relied on the grab, smooth and flatten tools; as the dragon's body is smooth, long and sinuous, the smooth tool especially assisted in giving the vertices smooth curves.
I also learnt that modelling the figure is simply half the battle; it must then be textured, placed in a world, and then the camera must be adjusted to take a picture that can be rendered. 3d animation takes a long time!
The figure was both box-modelled as well as modelled by using the sculpting tools.
I ended up with nearly 30 versions of my model. I saved nearly after every step, which was helpful in avoiding losing my work.
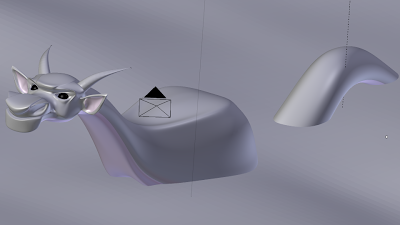
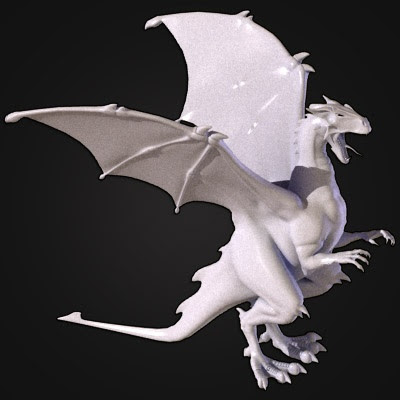
I also discovered that you can render pictures of the viewport. Here is a picture of my unfinished model:
Of course, I had to create a background to place the dragon in; I created waves by making a plane, subdividing it, and increasing the 'fractal' tab so as to create an undulating pattern; I created mountains by extruding and using the proportional edit tool as I learnt in class.
Hunting for textures was another quest. Because I decided to make a sea serpent instead of a dragon, I decided to look for reptile textures. I tried several on the figure, rendering each time. When I couldn't find any that satisfied me, I looked for leather textures instead. I found this one that worked quite well, and tweaked it a bit in Photoshop:
I found out through trial and error that if the corner of the texture was lighter, it would result in a lighter face on the model. I wanted the dragon's face to be lighter than his body in order to add dimension, so this is why I tweaked the texture in Photoshop.
Additional textures were sourced for the rocks and the sea.
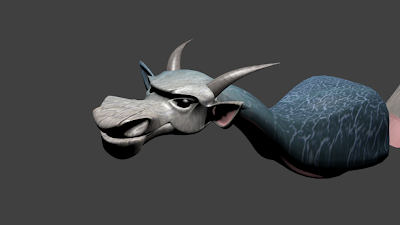
I actually painted parts of the sea serpent manually; his ears and underbelly, for instance, are pink while the rest of him is blue. I did this by selecting the faces and assigning a different texture to them so that the sea serpent would have some detail.
More shots of the dragon in progress:
I'm glad he is is finished because I can finally get some sleep.



No comments:
Post a Comment